Creating Output Reports
CarbonCheck includes tools for creating automatic output reports with the data from both a ‘baseline’ design and your proposed design side by side for easy comparison. For more details on creating baseline models, see the Baselines page.
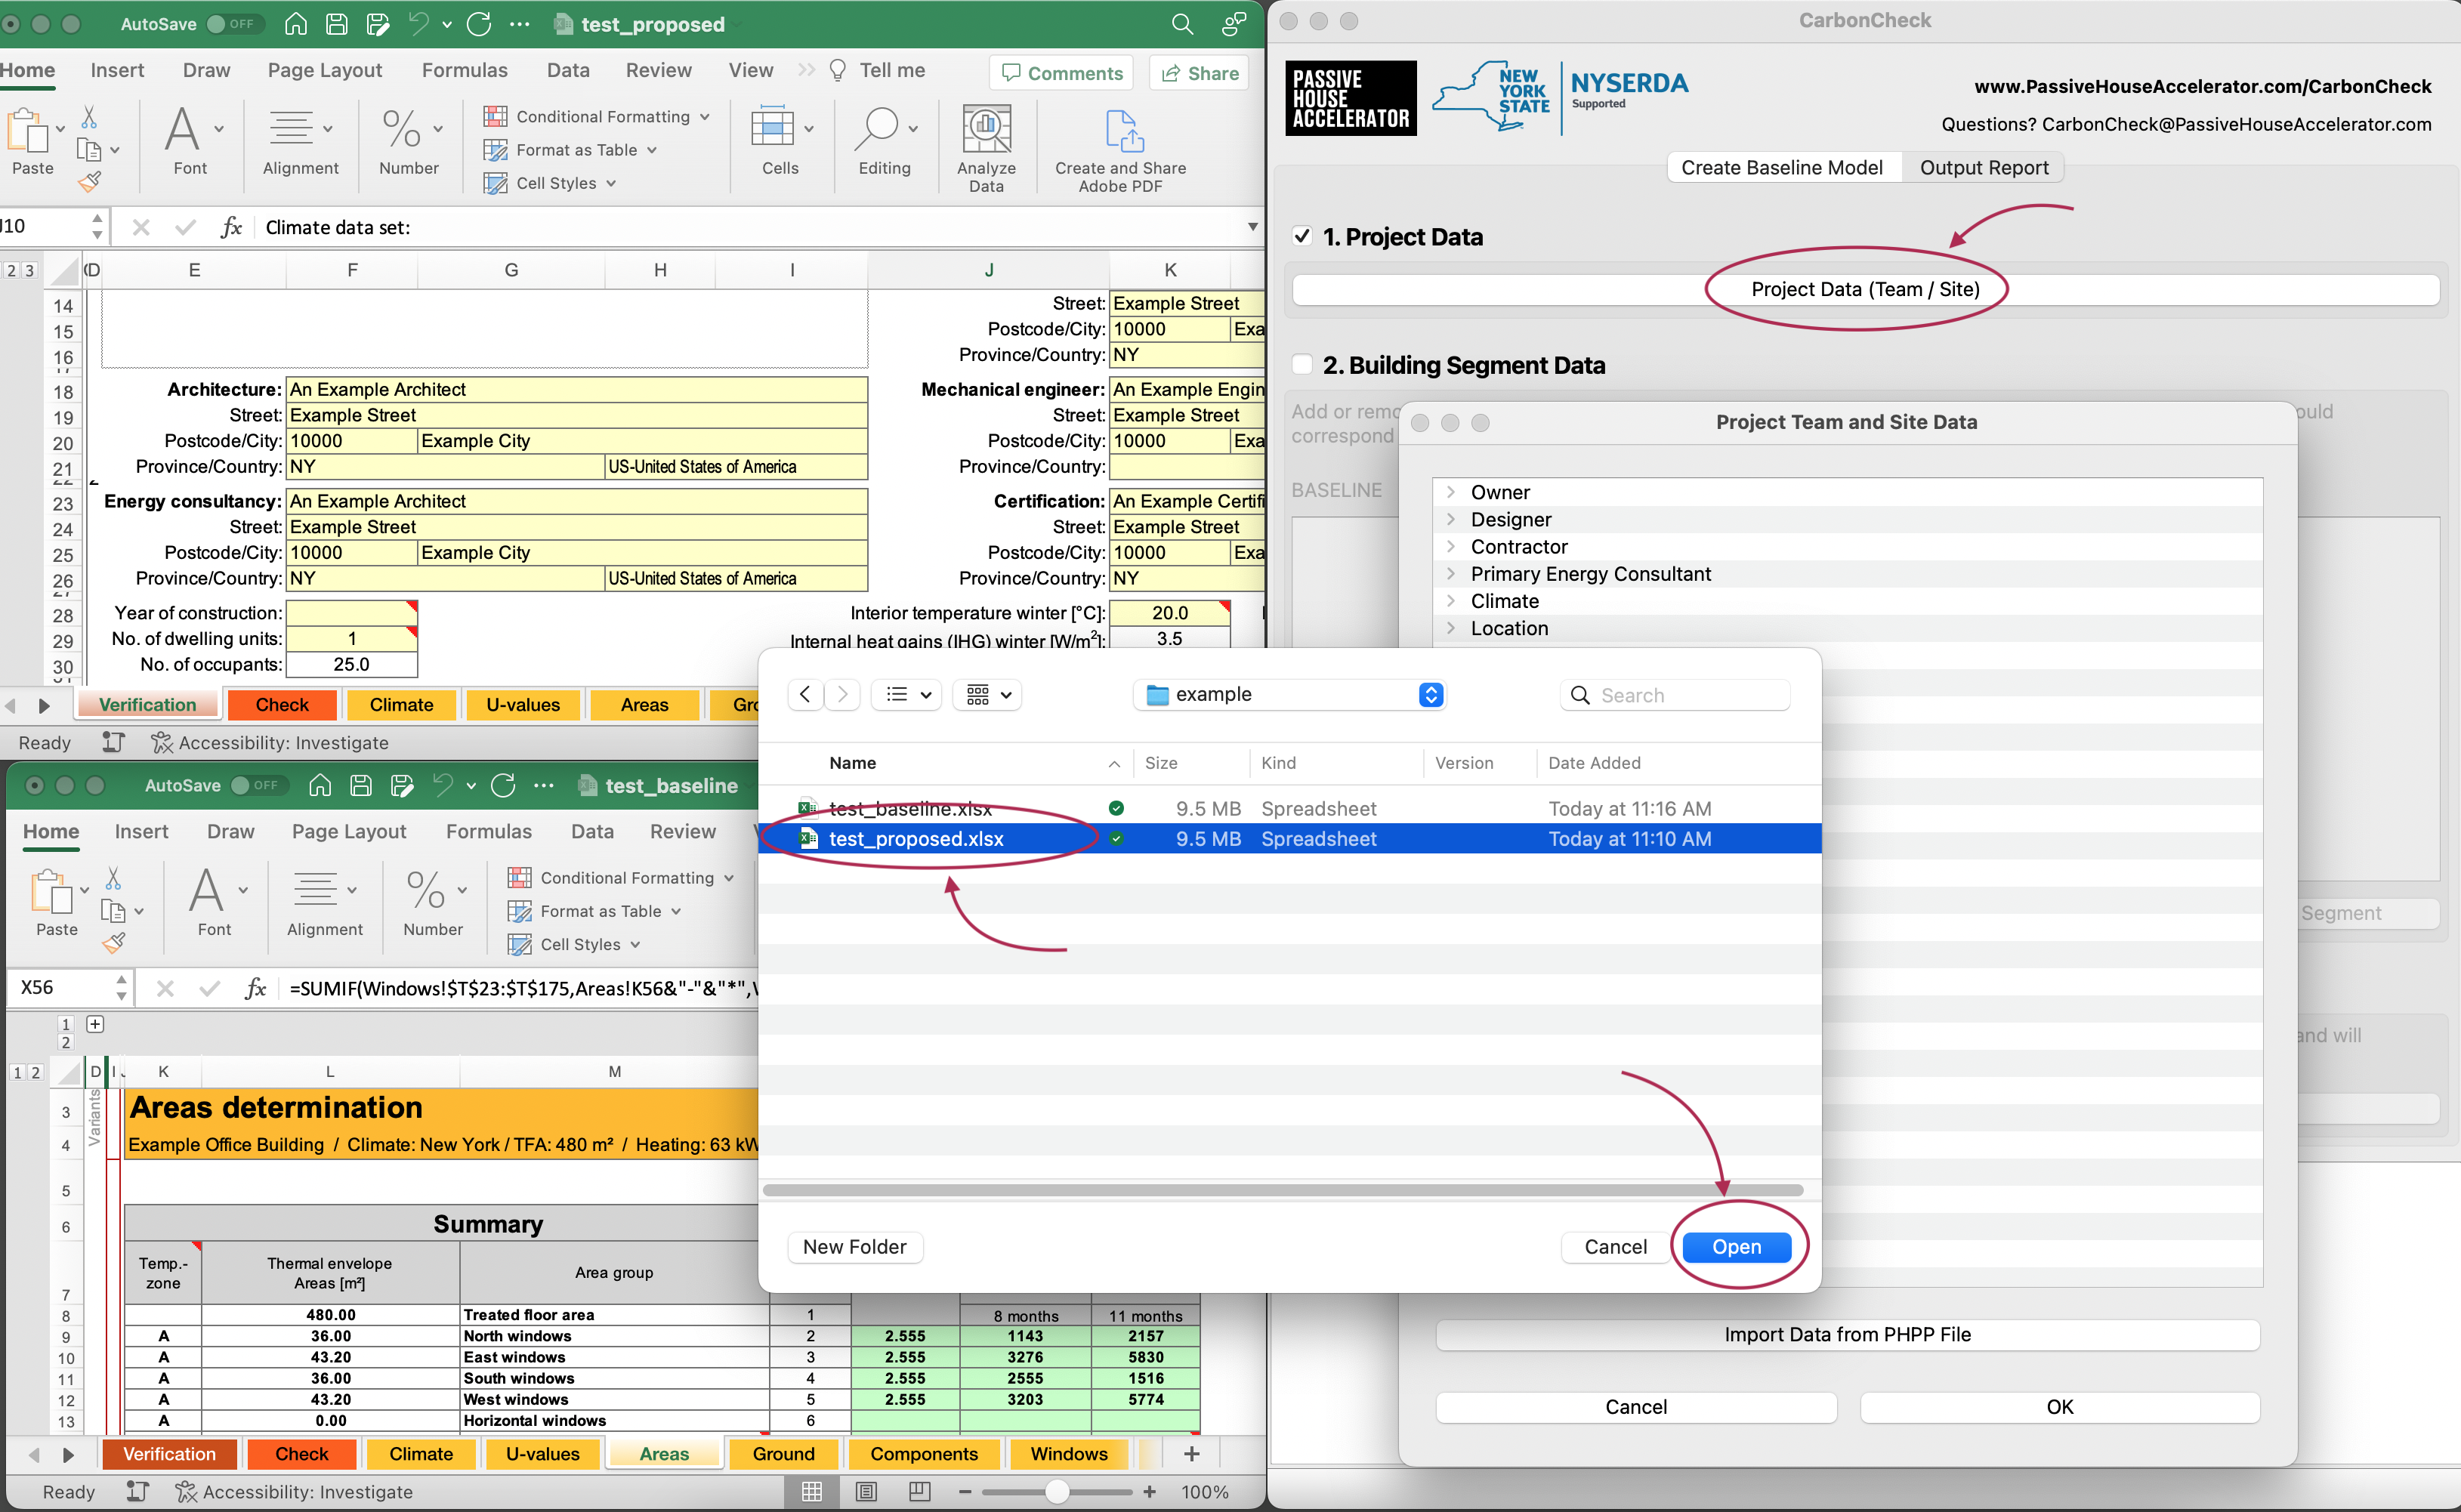
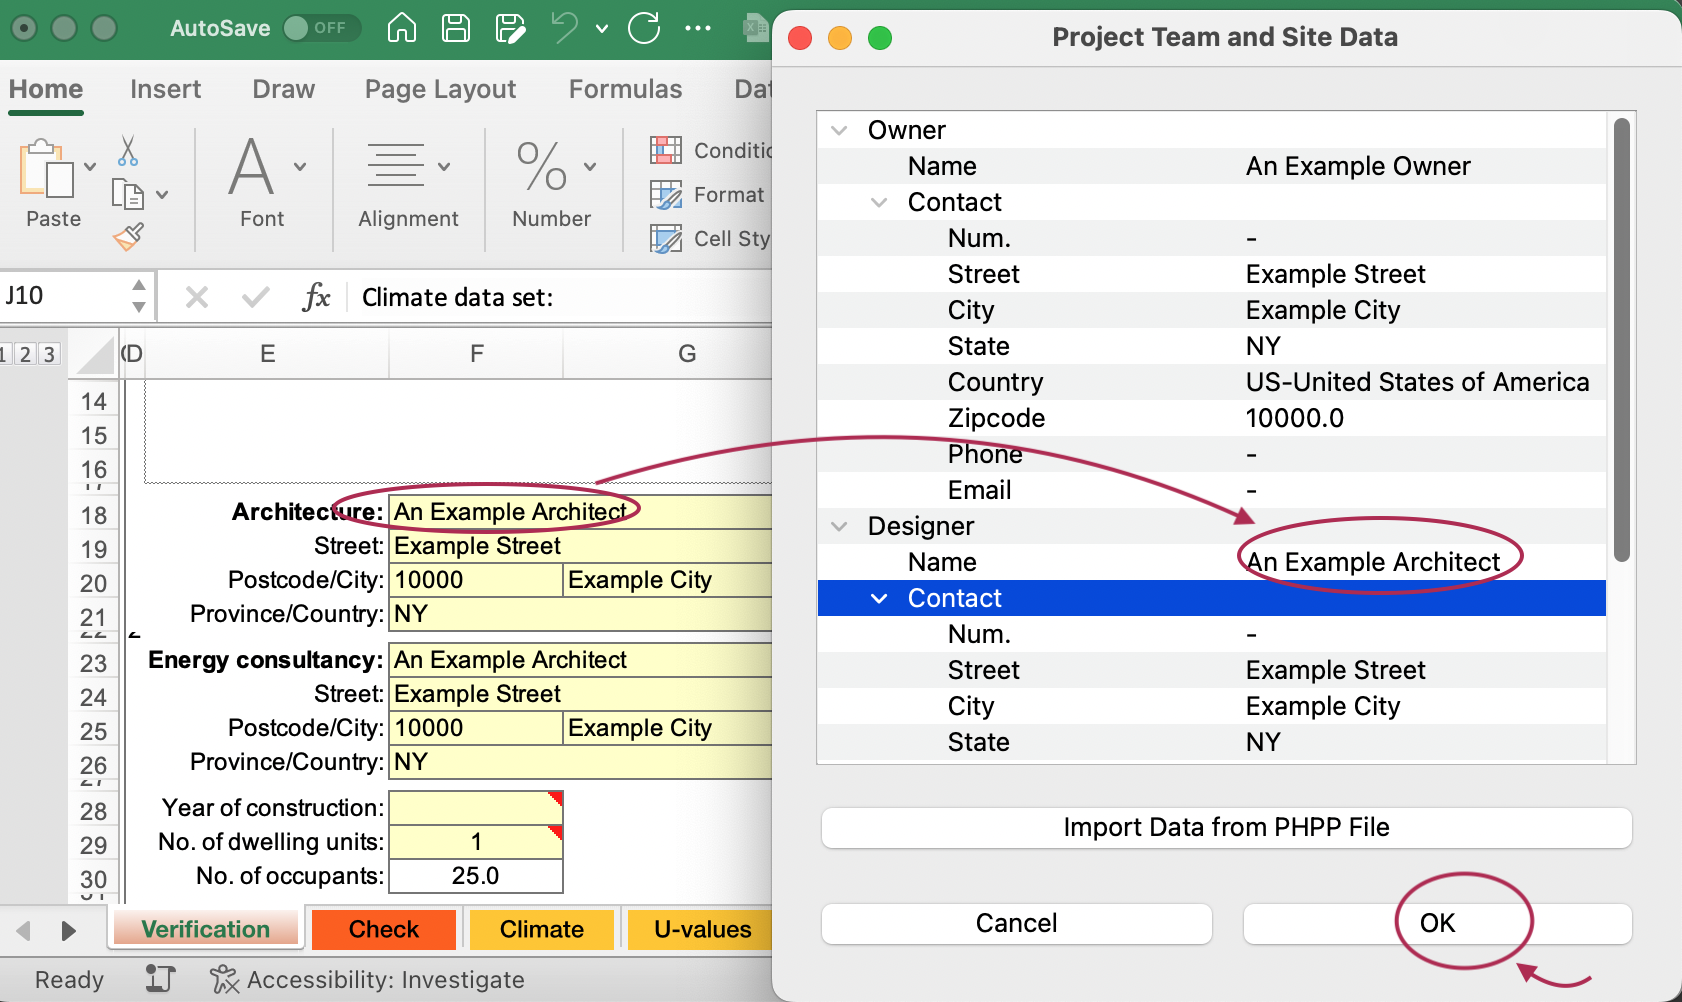
Step 1. Load Project Data
The first step is to open the CarbonCheck Application and read in the basic project data from your Passive House model. This will read in things like the project address, client information, and other basic data about the site and climate.
Step 2. Load the ‘Baseline’ Design Data
Once the project data is loaded, you can begin adding the ‘baseline’ building-segments. For more information on using CarbonCheck to create automatic baselines, check out the Baselines page. Each building-segment should correspond to one PHPP/WUFI file. In many situations where you have significantly different internal loads (for instance: a commercial podium vs. a residential tower) you will break up your Passive House model into various segments. Not every building requires this however, and if your building only includes a single building-segment, CarbonCheck will work fine in that case. For the example here, we are including only a single baseline segment.
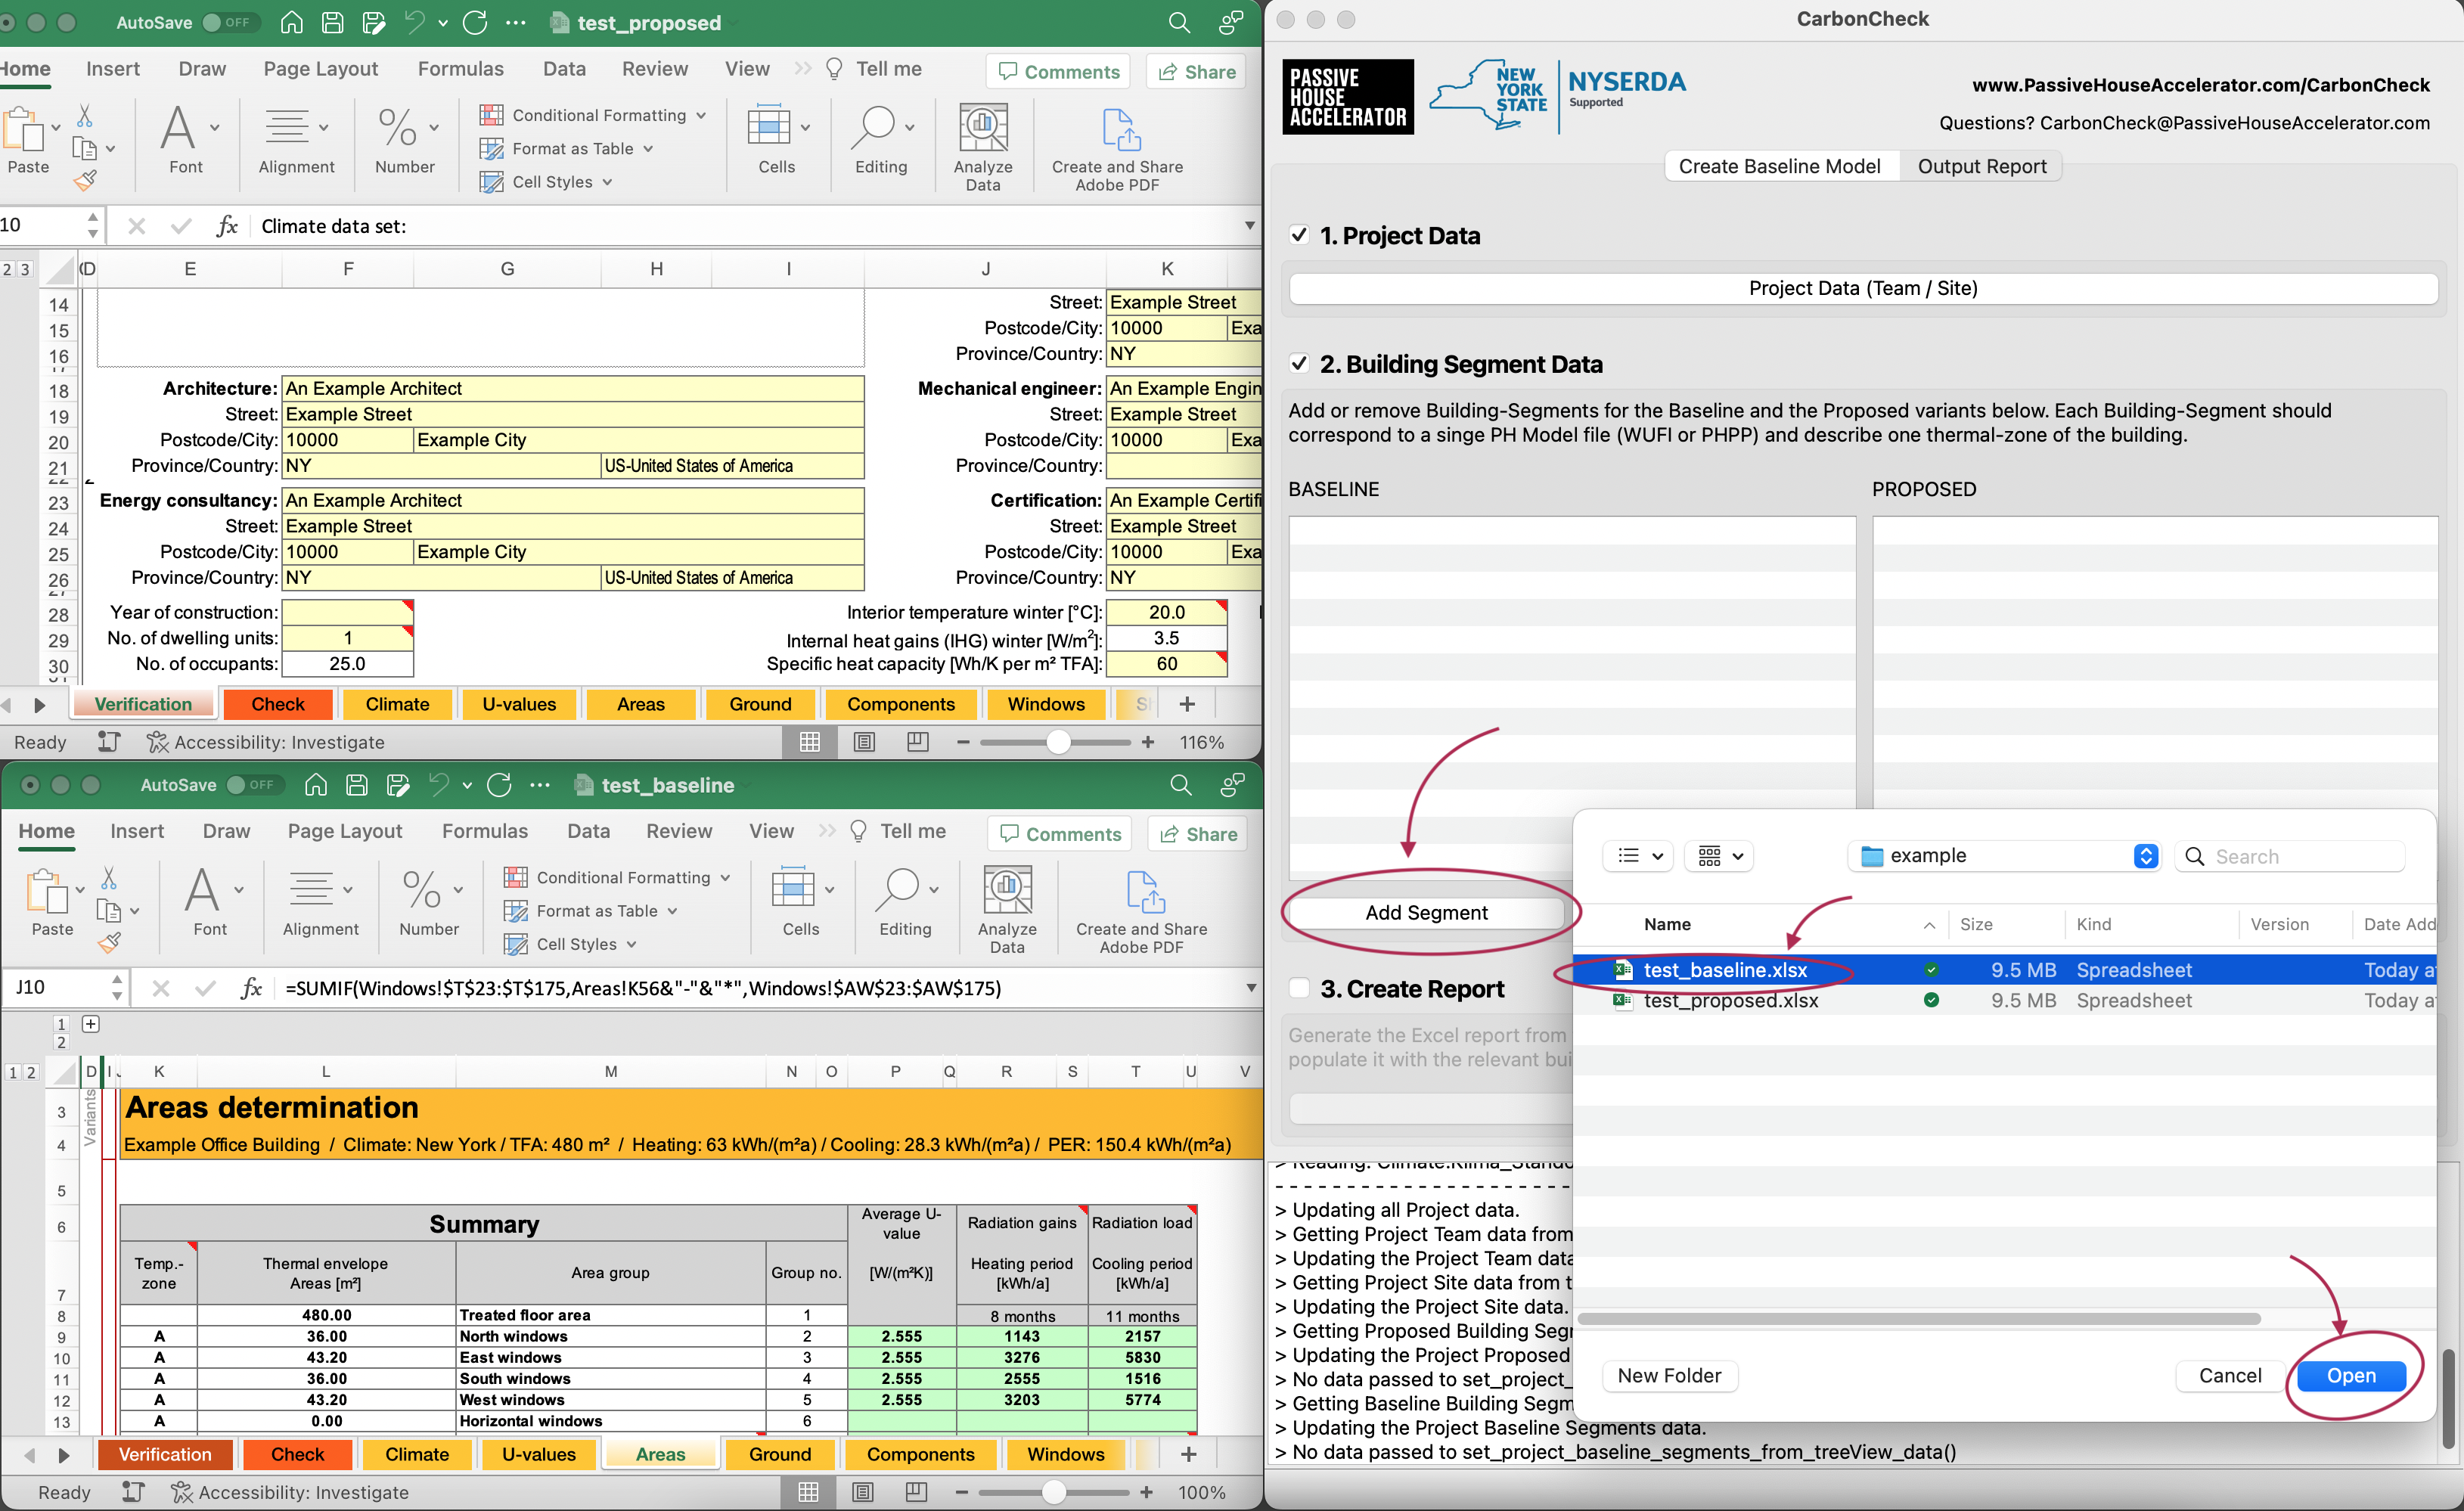
Once CarbonCheck has read in the model data, you will see preview of the data in the baseline window pane.
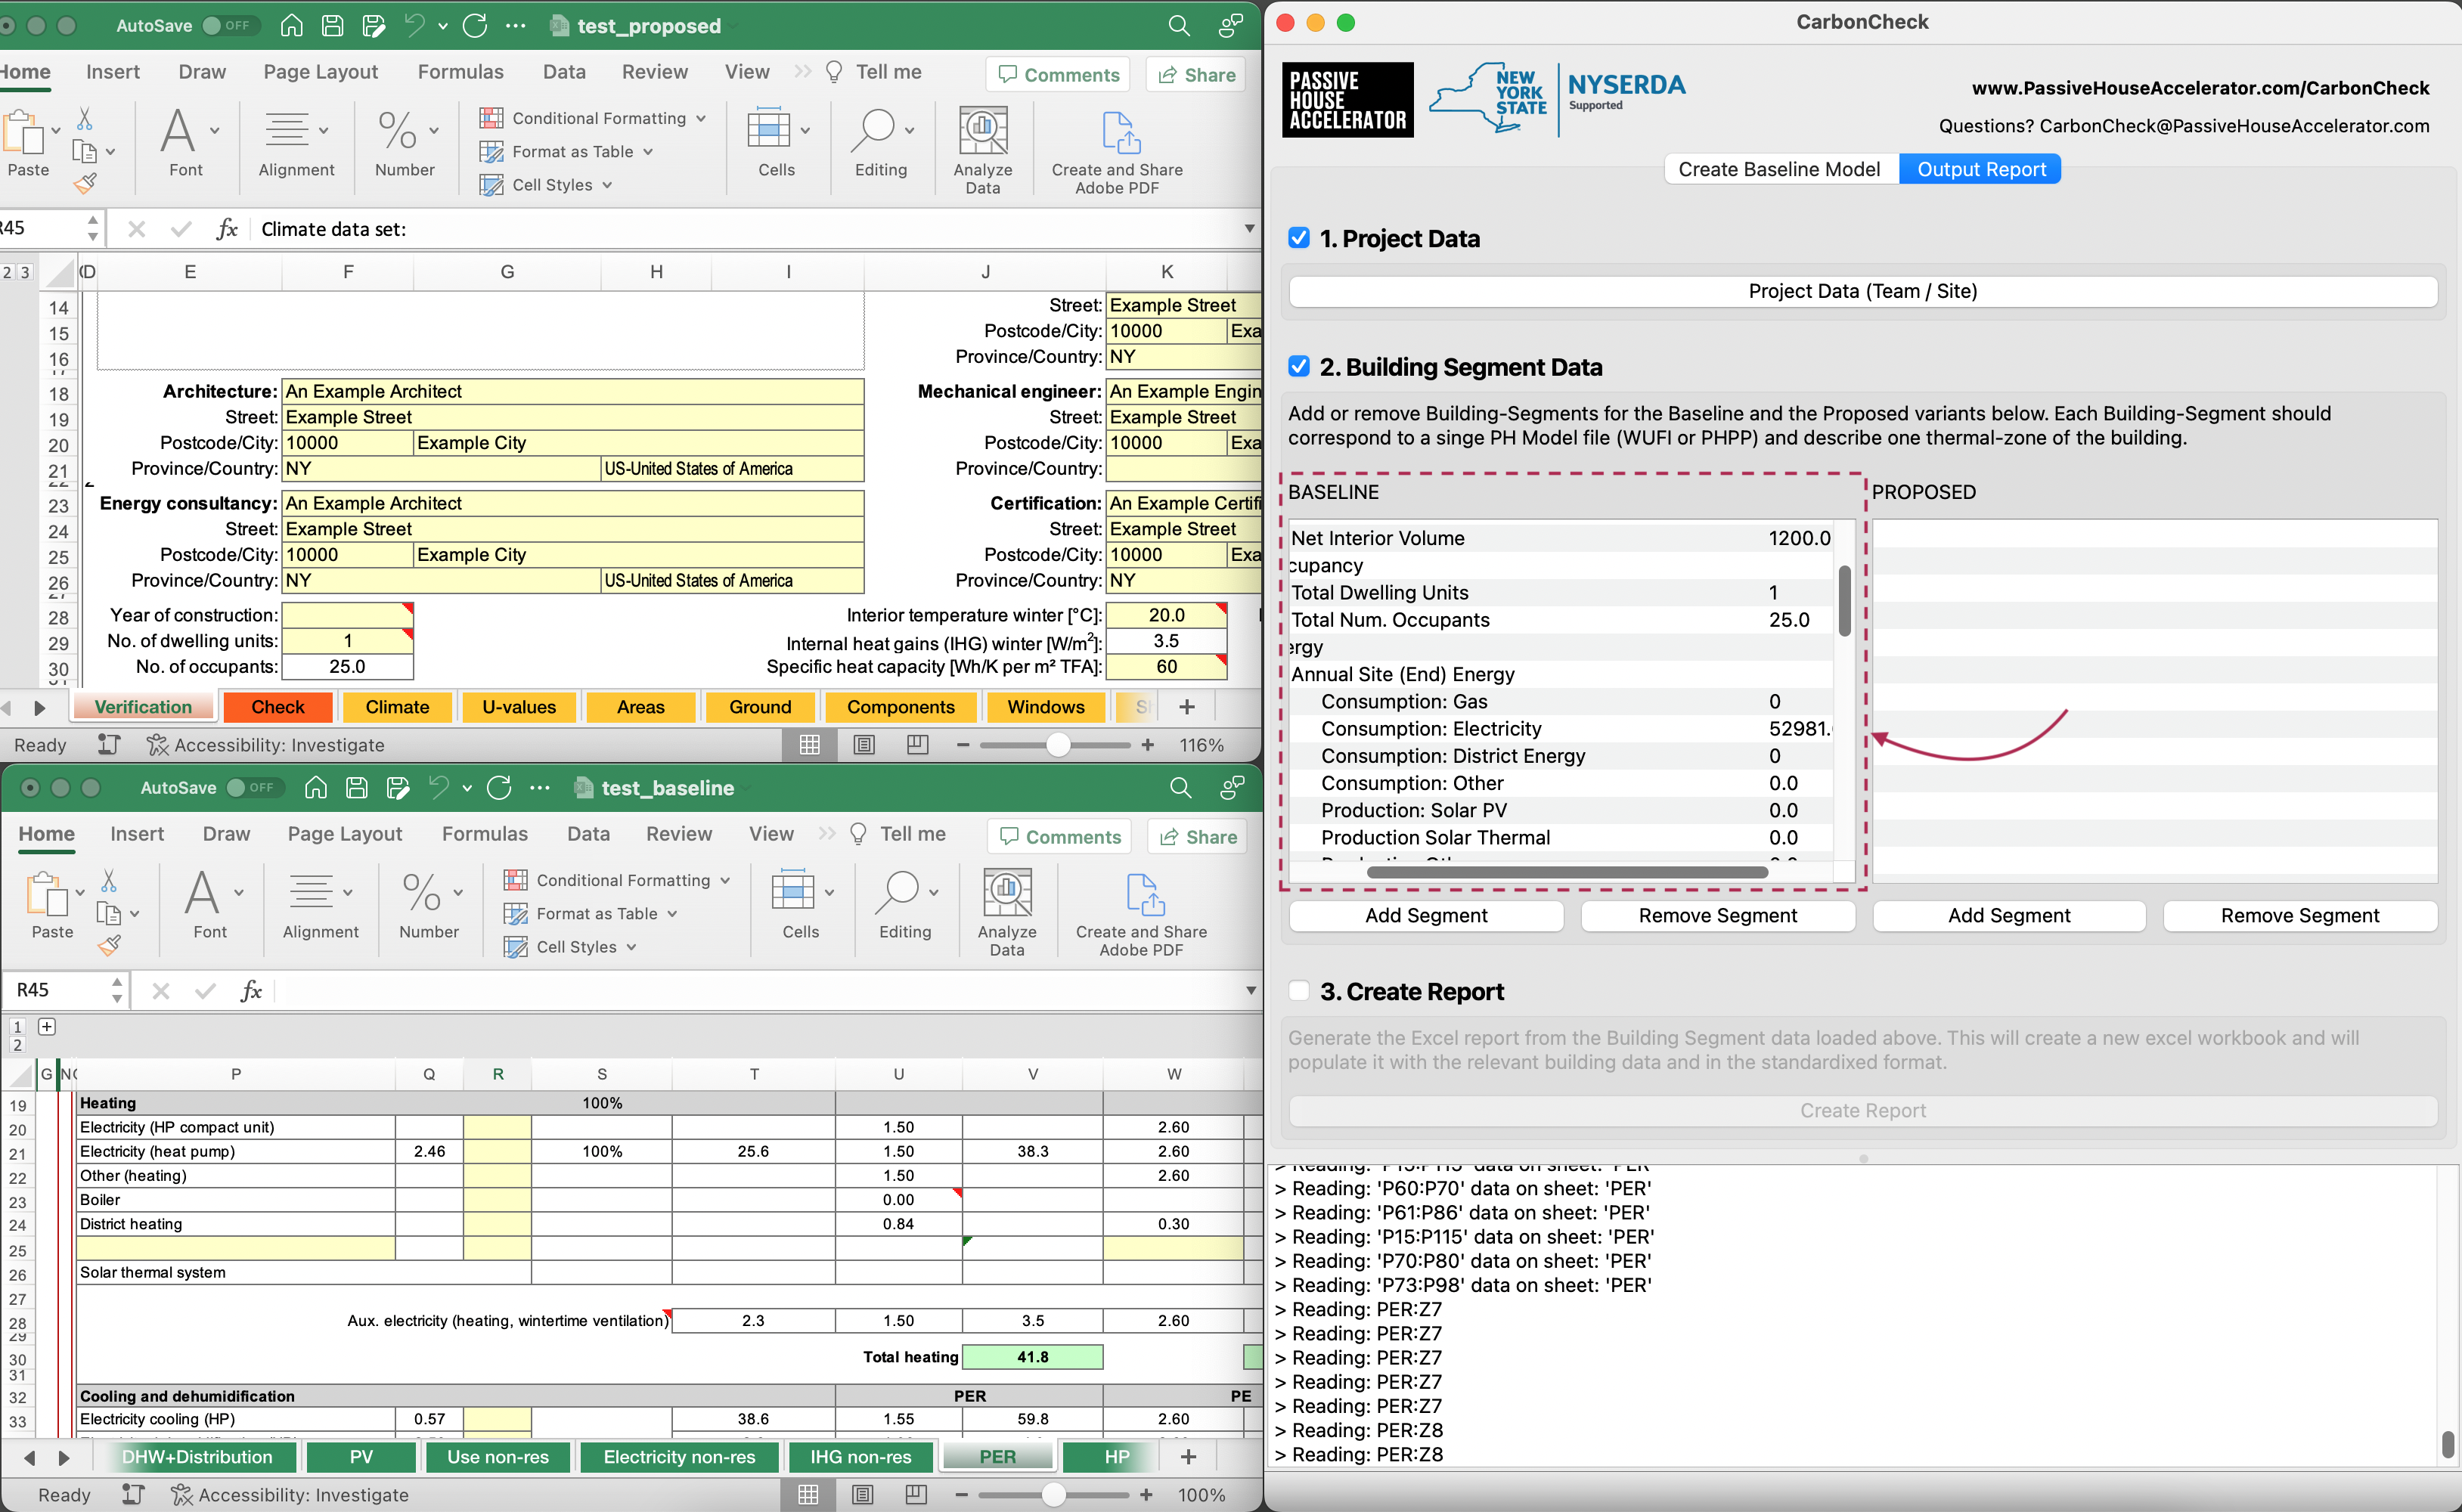
Step 3. Load the ‘Proposed’ Design Data
As with the baseline segments, add one or more ‘proposed’ building segments. Each building-segment should correspond to one PHPP/WUFI file.
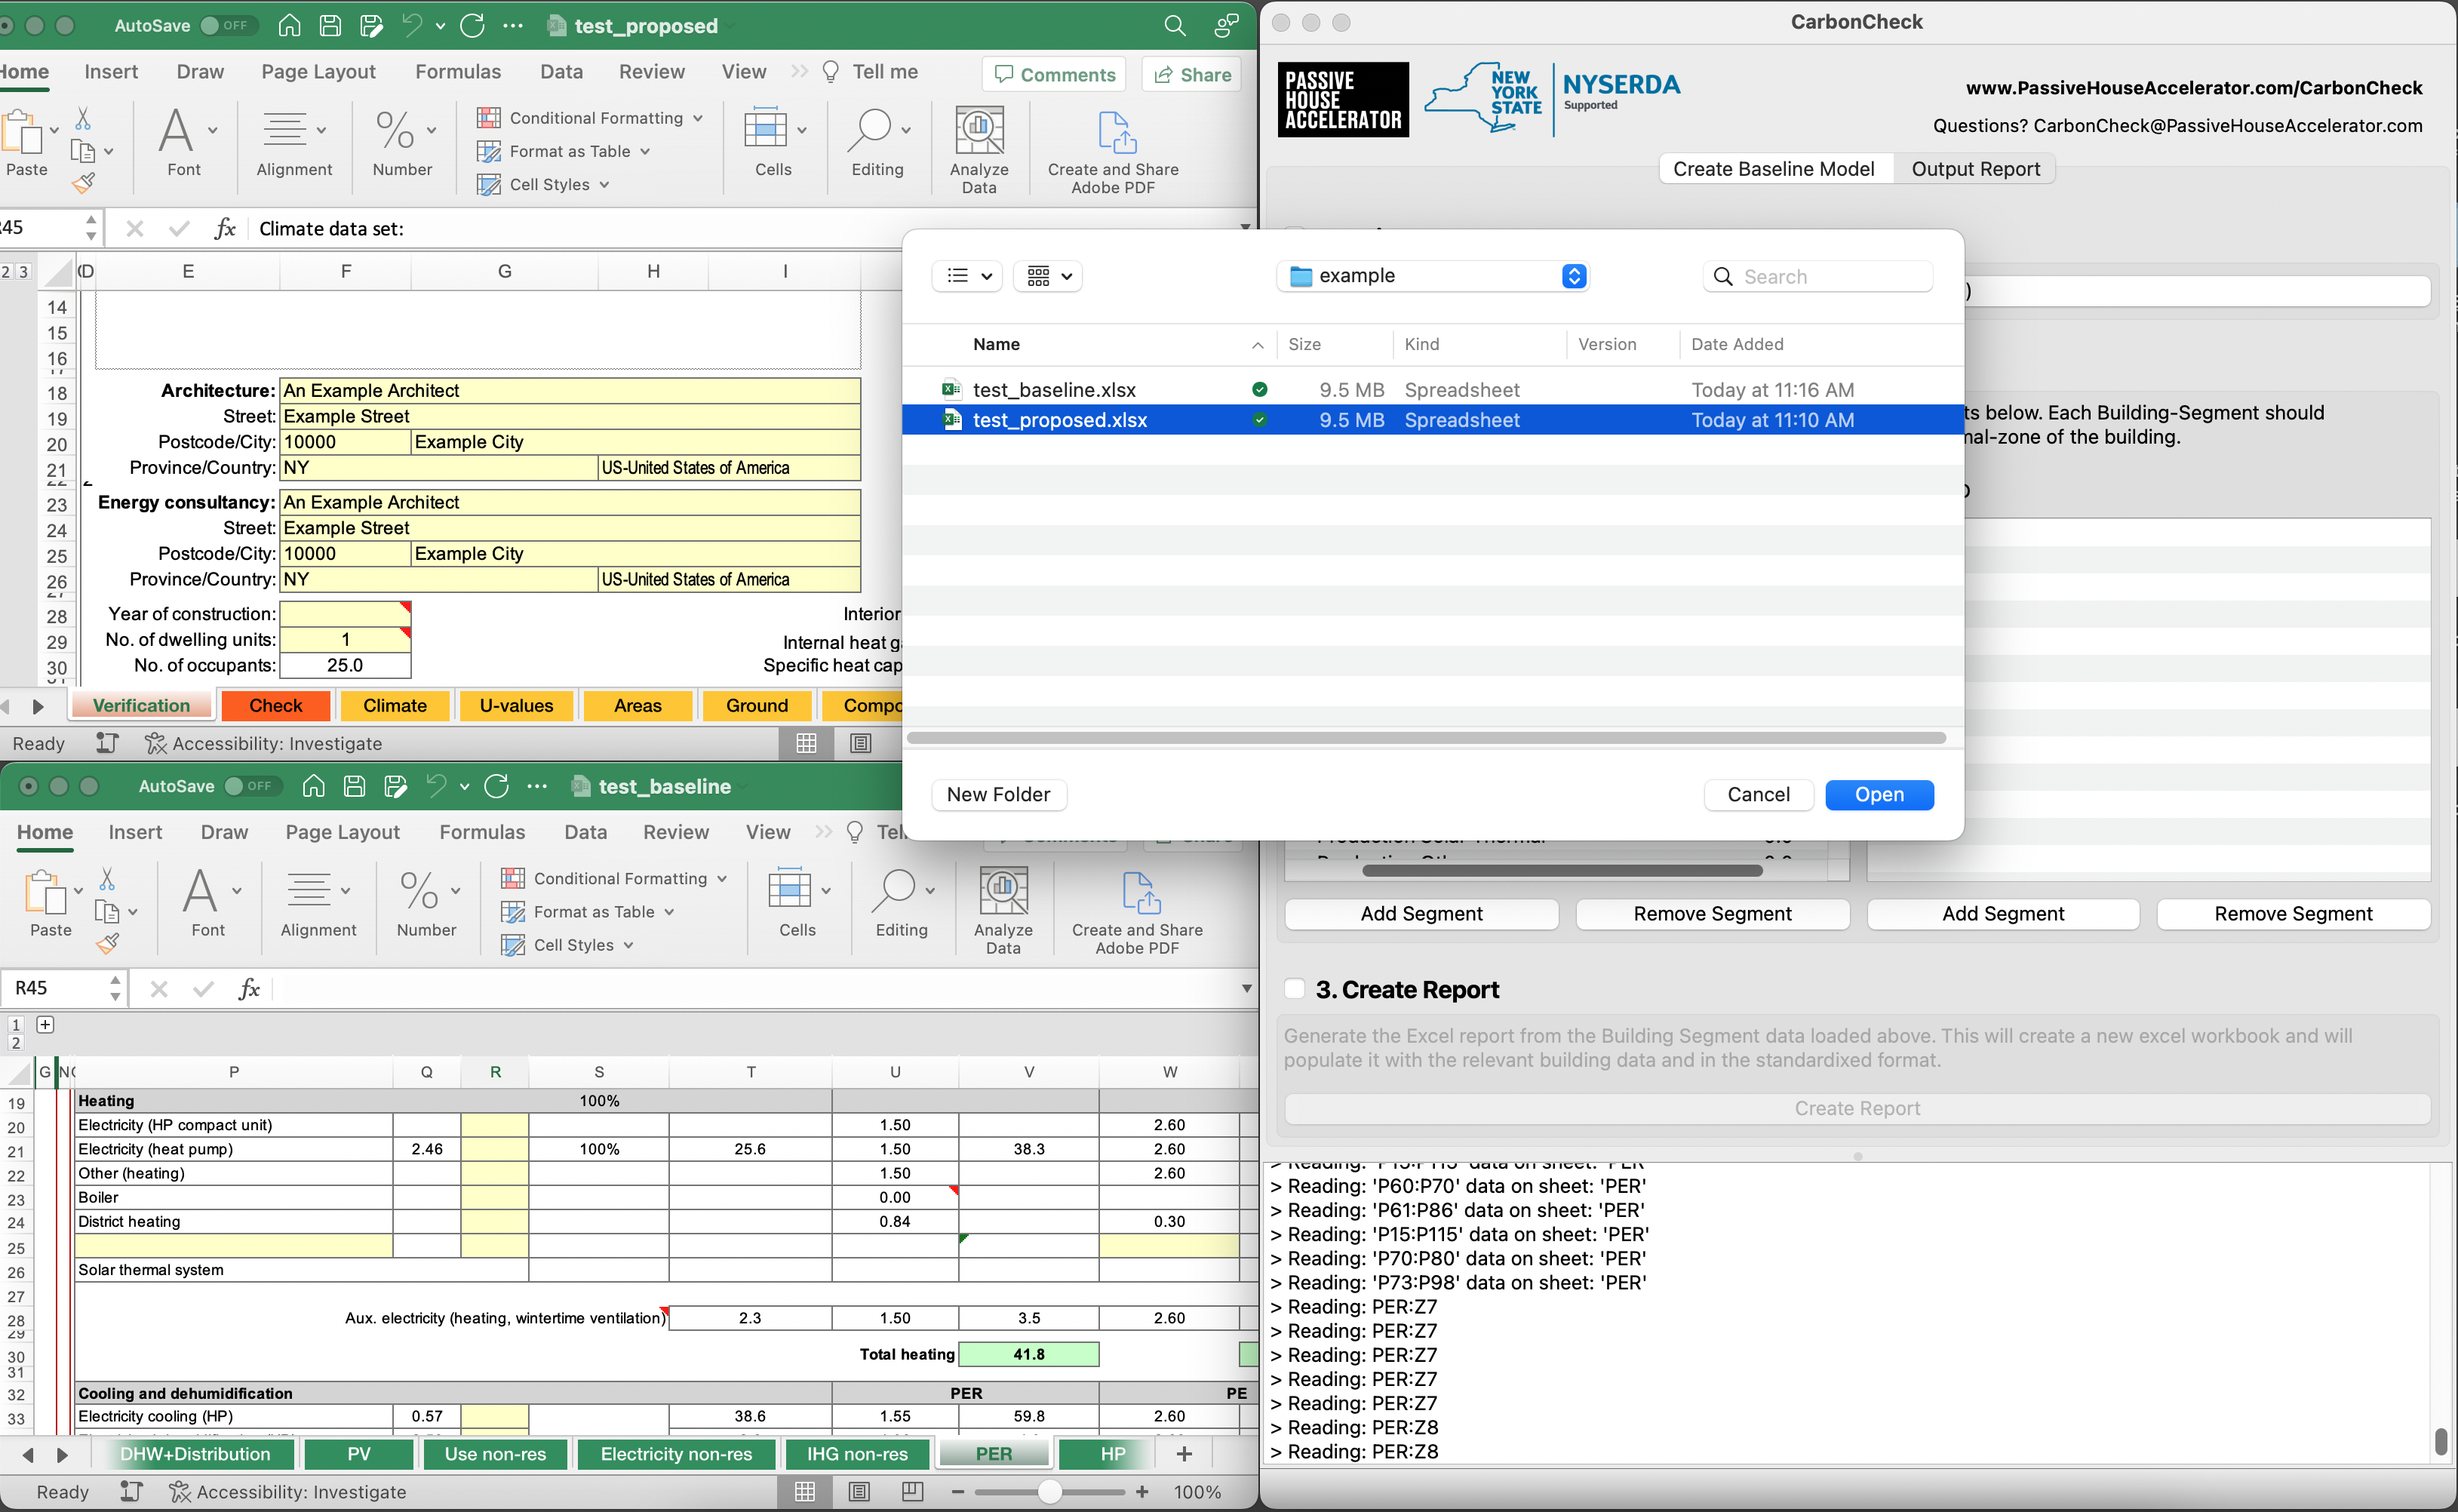
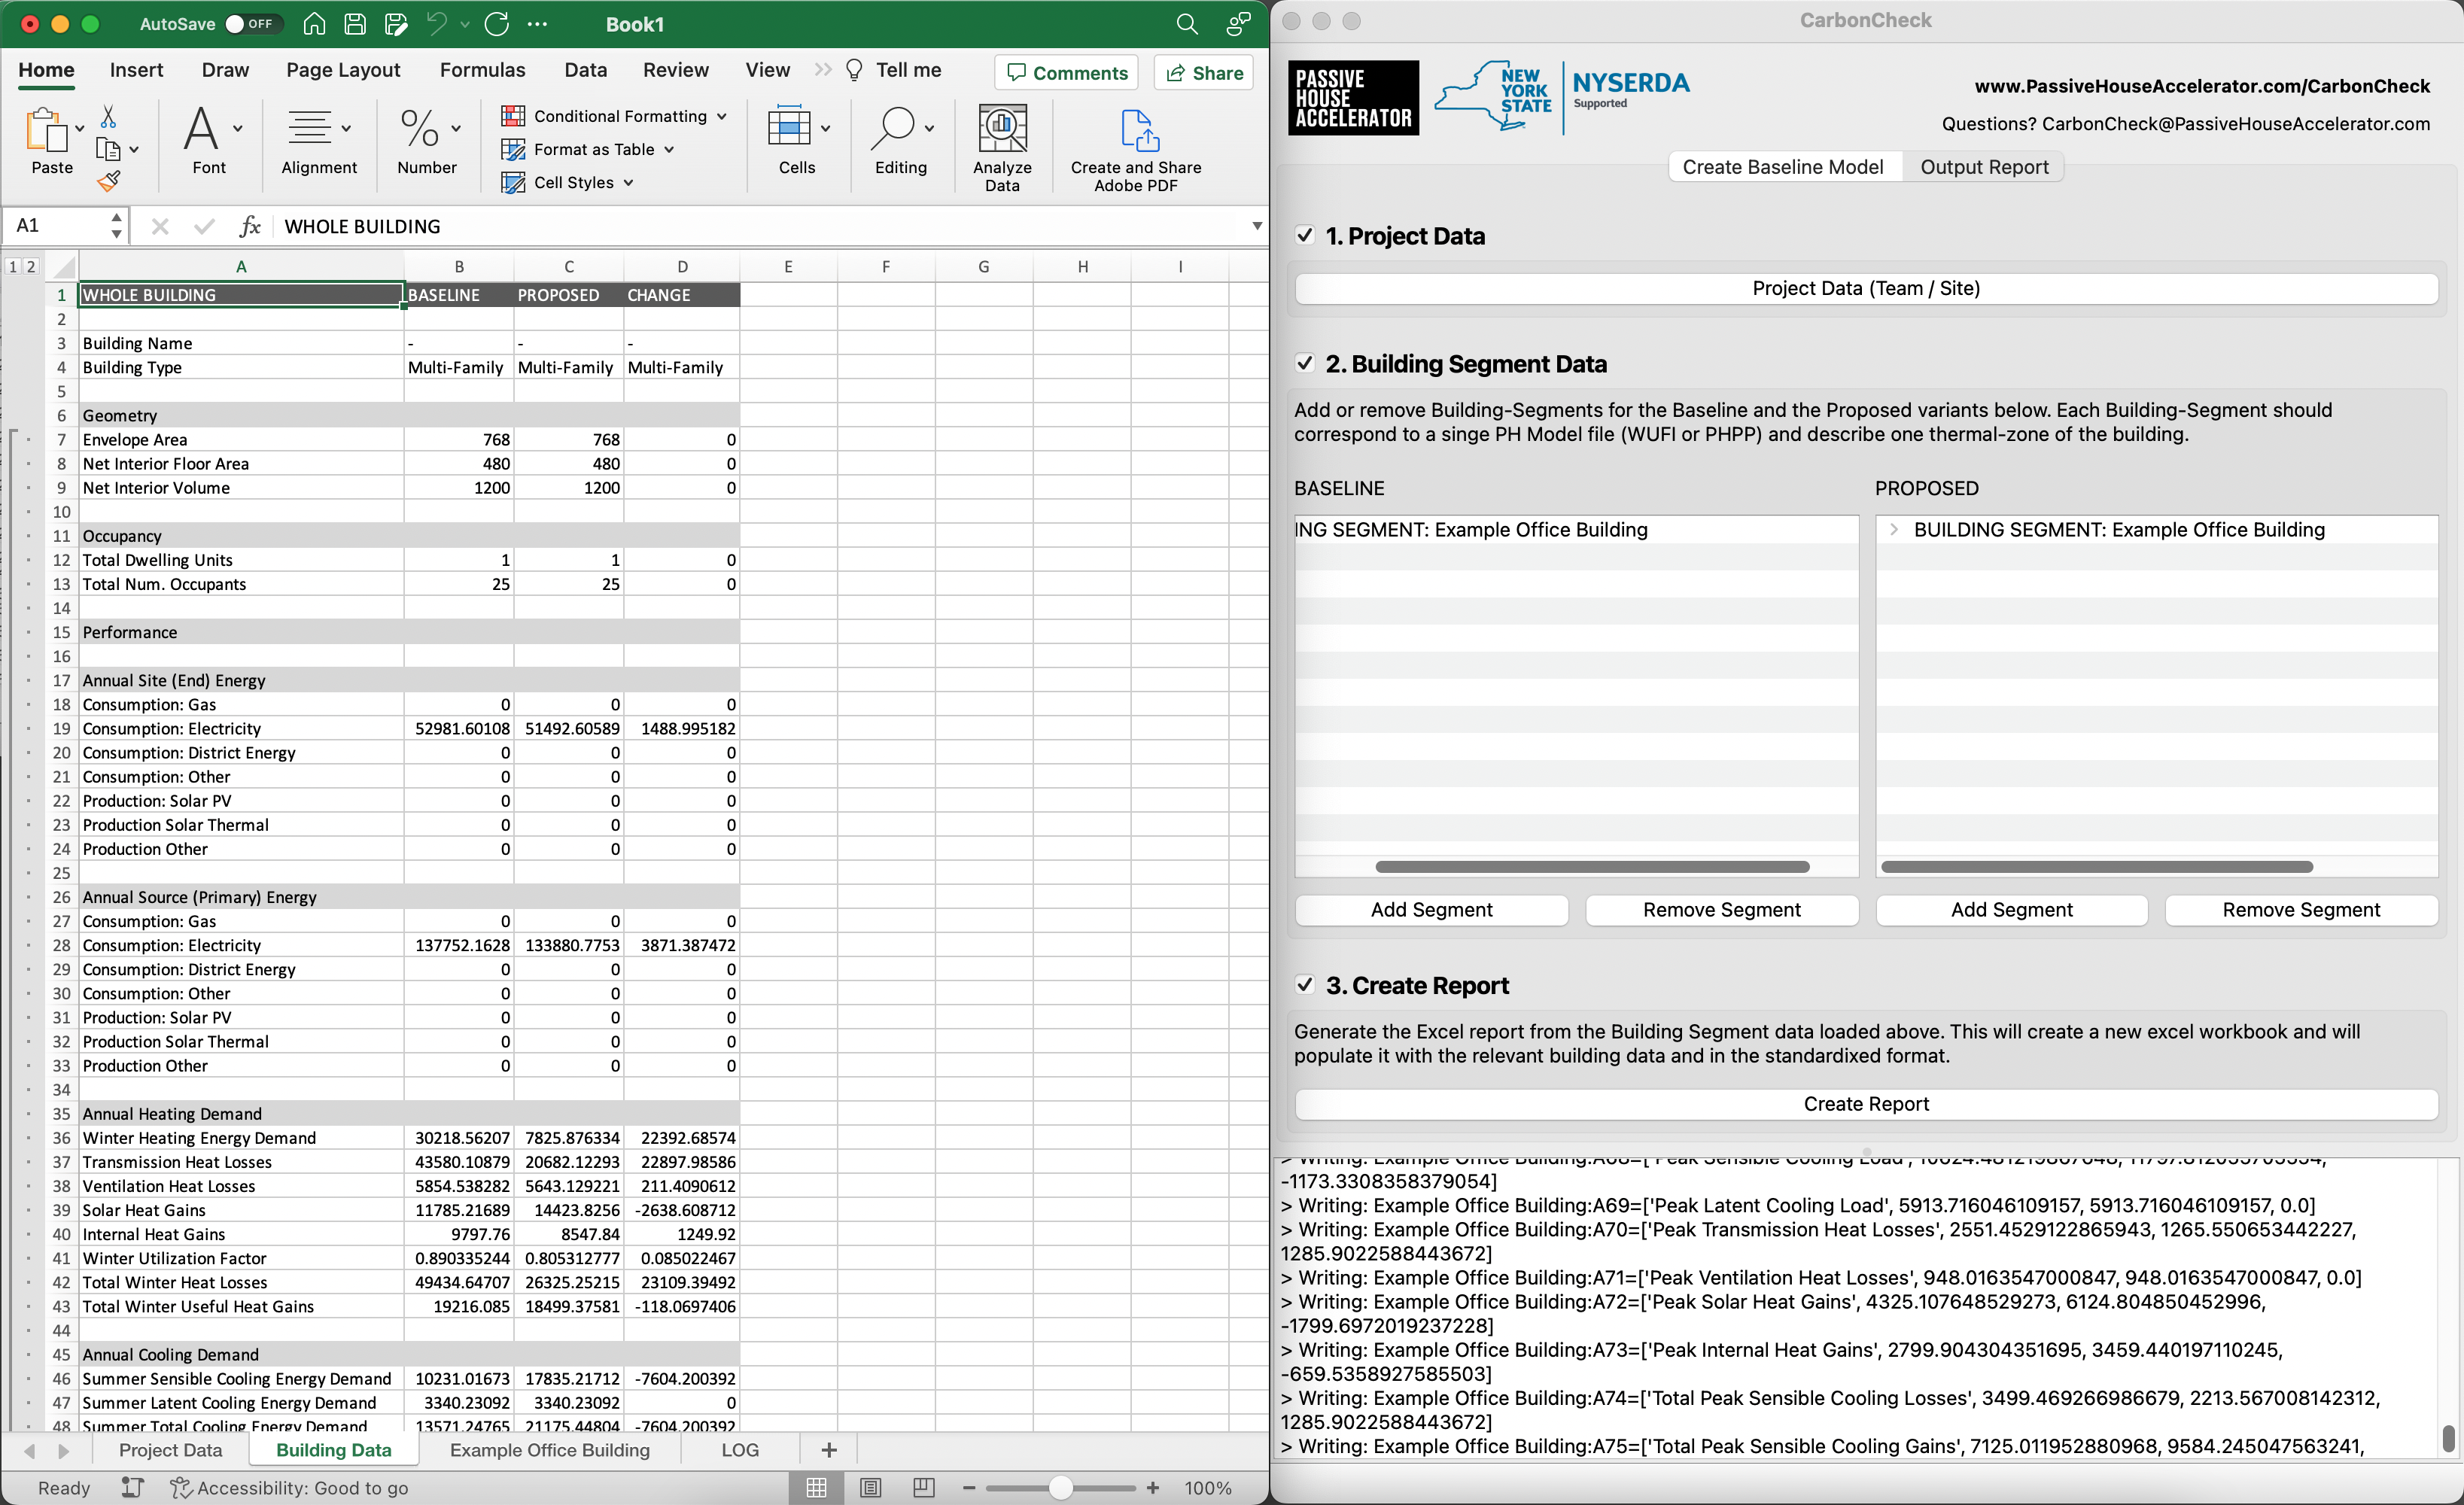
Step 4. Generate the Output Report
Last, once you are happy with the data included, simply click “Create Report” and CarbonCheck will collect all the data and write it out to a new Excel report file. This file can be saved to your computer and submitted to your project reviewer.